這個單元我們來聊聊網站的備份與還原方式。我們現在這個網站可能剛架好,還不會遇到,但是在不久的將來,我們很有可能可能會因為裝了某個會跟網站衝突的外掛,或是誤觸了某項功能或是設定,導致網站整個壞掉了,或是一個不小心,頁面或是文章遺失了,這時候如果我們有備份的話,我們會感謝當時有設定備份的自己。
其實在 WordPress 的外掛目錄搜尋「備份」,會有滿多的外掛。但是很不幸的,常常我們會用到備份和還原,都是剛剛好連網站後台都進不來。這時候網站內部的外掛,可能幫不上什麼忙!!
所以會推薦的作法是外掛搭配主機內建的備份服務,最為保險安全。所以,今天這兩個辦法,我們都會來學習。
使用外掛備份
備份的外掛也是有百百種,所以這邊也是會跟你說,選一個你用得上手的就好。那我這邊會是推薦 UpdraftPlus ,因為我自己是用的很習慣,也覺得很方便。所以這邊就介紹這款備份外掛。
備份
一、安裝並啟用他。
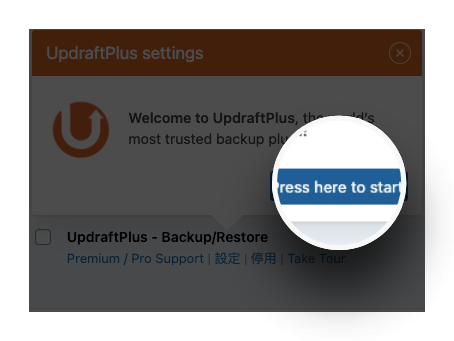
二、安裝完成後,他會提示我們,我們點選 Press here to start! ,開始備份設定。
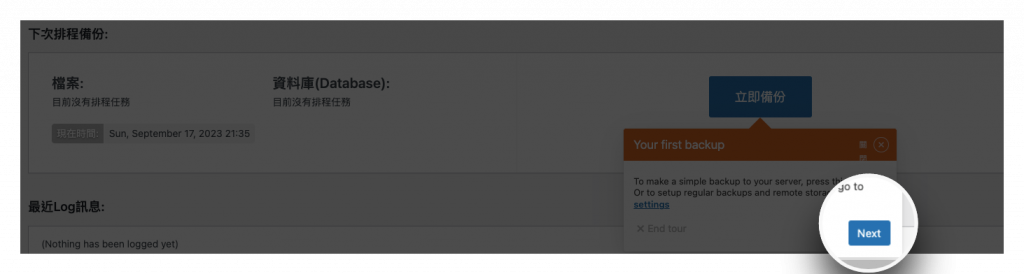
三、他會提示我們開始第一次備份,我們按下 Next ,來開始。
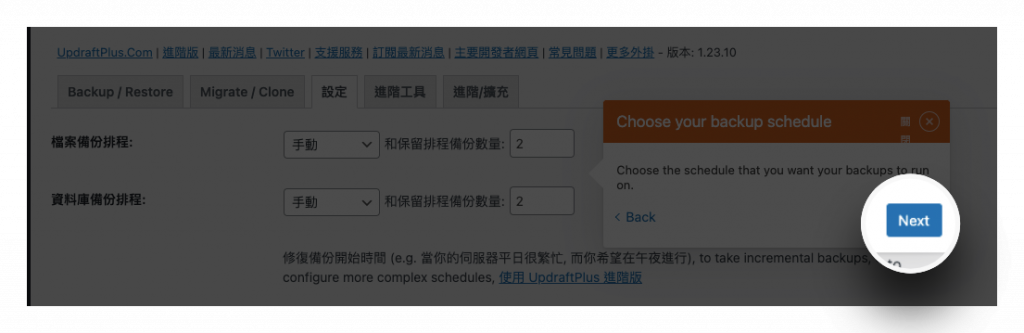
四、接著會問我們備份的頻率和數量。分為檔案的備份,也就是圖片、影片那些。還有資料庫的備份,也就是文章、頁面、網站設定,那些會被存放在資料庫的資料。預設是兩天備份一次,只有保留兩份備份。頻率和保留數量因人而異,如果你可以接受網站壞掉後,資料回到七天前,那你就設定七天。如果你兩天就沒辦法接受,那你就設定一天,前提是,你的儲存空間要夠大就好。如果都沒問題的話,我們就按 Next 來儲存設定。
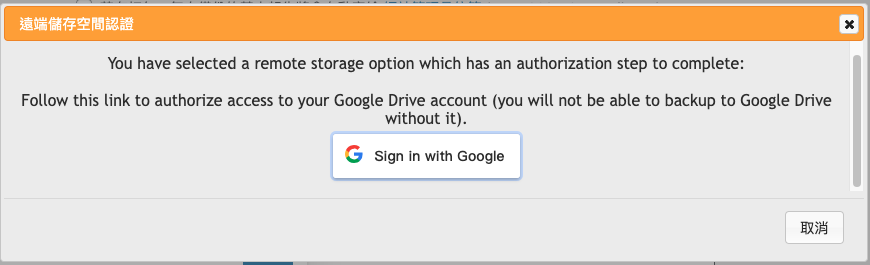
五、備份儲存位置。我會建議一開始存在 Google Drive 即可。所以我們選擇 Google Drive 來做為我們的儲存空間。選好後,按 儲存變更 ,此時會跳出一個 Google 授權認證的畫面,我們直接點 Sign in with Google ,並且允許權限。
六、我們會看到一個橘色畫面,並且按下 Complete setup 。

七、我們會看到上面跳出這個成功訊息,那就是設定完成了。

還原
我們可以直接進入 UpdraftPlus 的設定頁面,在 Existing backups 的區塊可以看到之前的備份。我們可以直接點擊下載,也可以點選 還原 ,來還原到某個備份時間。
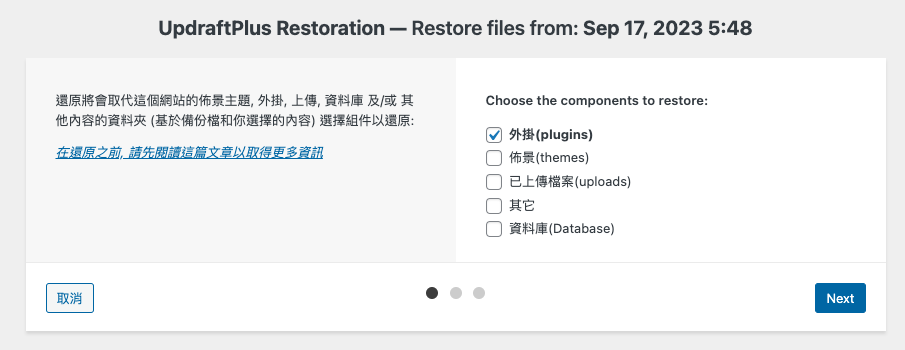
一、我們選擇好想要還原的時間點後,可以點選要還原的部分,好了話就按 Next 進入下一步。
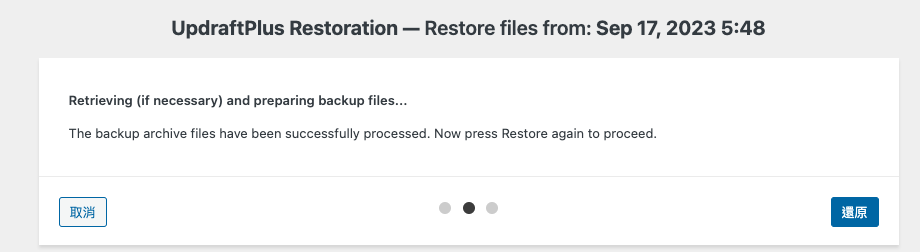
二、此時,UpdraftPlus 就會去抓取我們備份到 Google Drive 的檔案,抓下後,就可以按下還原,回到我們想要還原的時間點。
使用主機備份
因為我們是使用 Cloudways 的主機。所以,在我們剛裝好 WordPress 網站的時候,Cloudways 就已經自動幫我們開啟了備份的功能!
備份
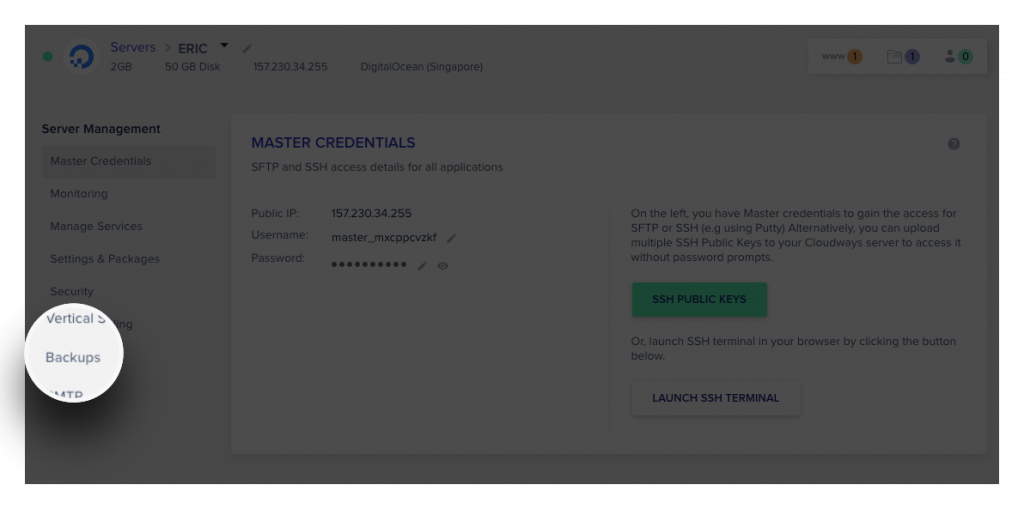
一、我們在登入後,進入 Servers 。

二、裡面找到自己 WordPress 正在使用的 Server ,開啟後打開 Backups 。
我們可以在這調整備份的頻率或是哪個時間點進行備份,也可以在這設定。
Schedule Time 是備份時間,我們會建議可以找比較冷門的時間點來備份。
Backup Frequency 是備份頻率,看你要多久備份一次。
Backup Retention 是備份保留時間,看你每個備份要保留多久。
設定完成後,記得選擇 SAVE CHANGES 。
💡 要注意的這邊是 UTC 時區,也就是台灣時間是 +8 喔。
還原
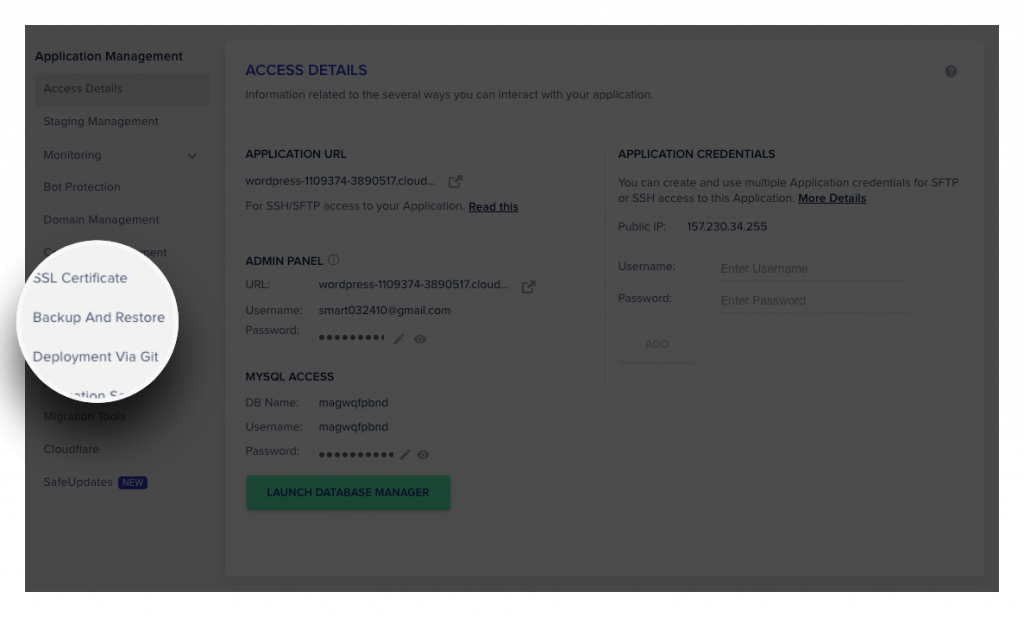
一、還原的話,則是要去 Applications 。

二、打開我們的 WordPress 應用,進入 Backup And Restore 。
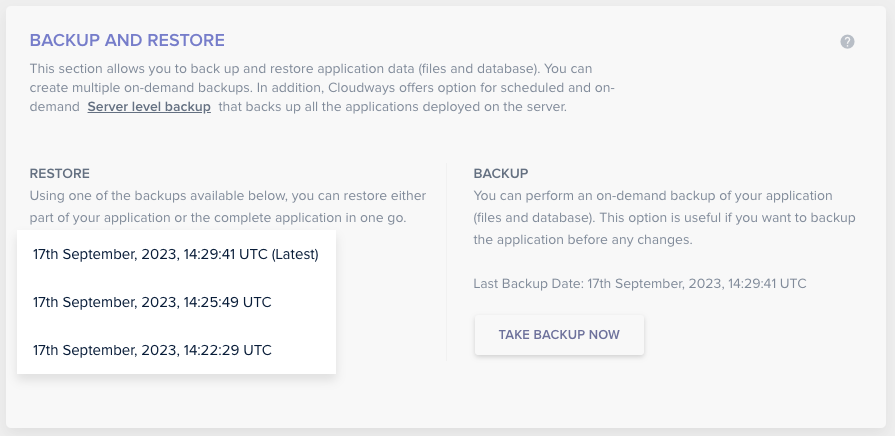
三、我們可以在這邊選擇要還原的日期,這裡會列出近期有備份的時間點。
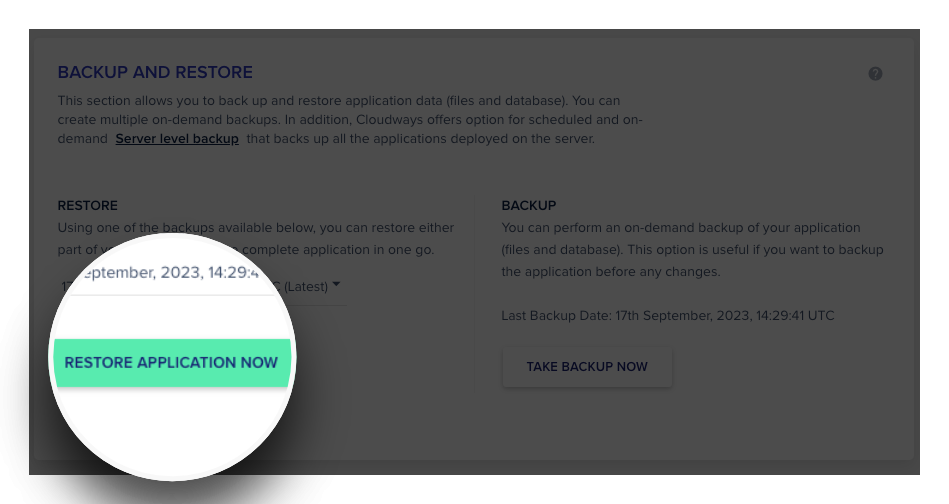
四、選好後,直接點選 RESTORE APPLICATION NOW ,來還原到我們選擇的時間點。
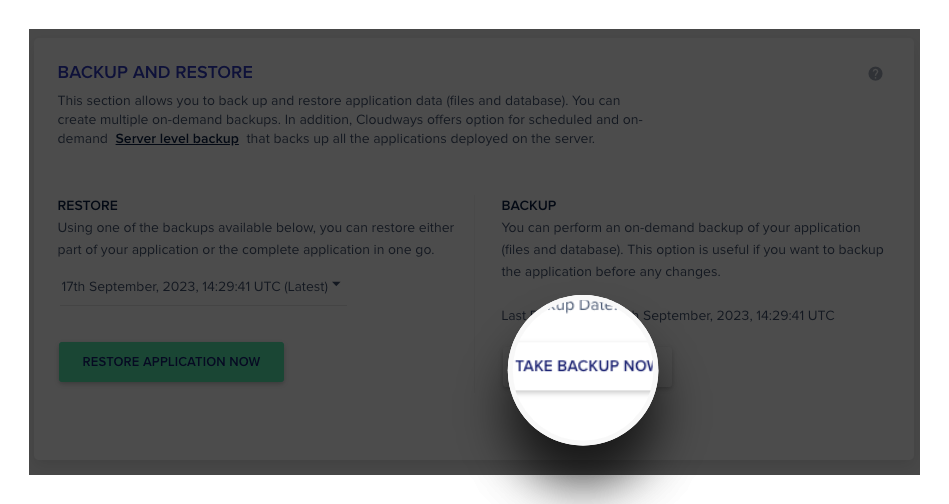
另外,如果你想在網站裝一個陌生的外掛,或是你可能有一些大膽的想法要在網站上做實驗,都會建議都要來這邊立即備份,至少網站出事了還可以還原回去。那如果要立即備份的話,直接點選 TAKE BACKUP NOW 即可。
最後,還是要祝福大家,網站都乖乖不掛掉,永遠不會碰到備份還原的功能!
Be First to Comment