有了網站後,我們可能就會開始在意一些問題,我們的文章有沒有人看?我們的網站有沒有人逛?所以我們這個單元會來介紹一個好用的 WordPress 外掛「 Site Kit by Google 」。
這是一套由 Google 官方開發的外掛,將幾個常用的網站管理服務整合在一起,我們可以透過這個外掛來統計分析網站流量。
安裝 Site Kit by Google
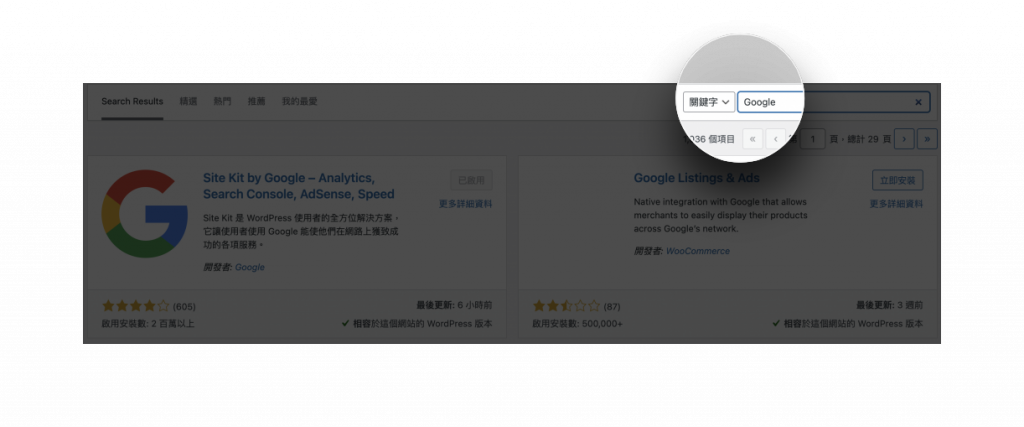
一、搜尋「 Google 」第一個就是了。
二、點擊 Insatll (安裝)。安裝完成後,點擊 Activite (啟用)。
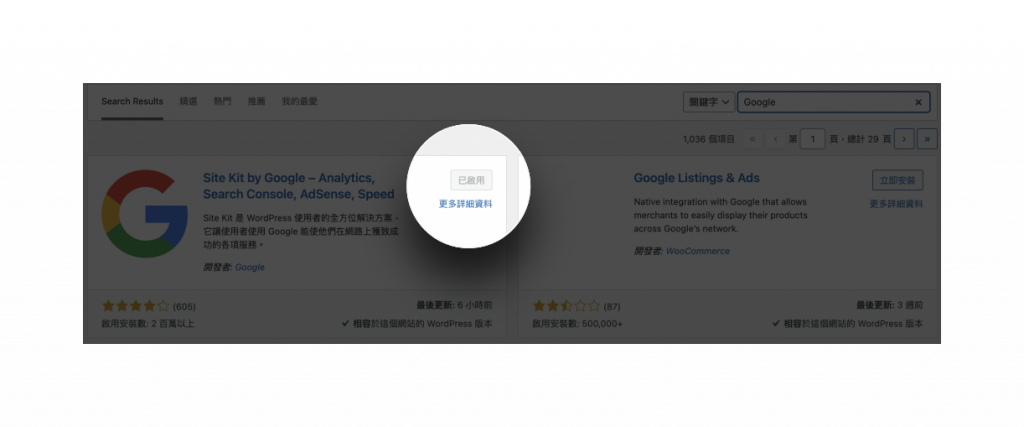
💡 通常我們在找 WordPress 外掛的時候,會找到很多類似的。我會建議找「相對多人使用」的外掛來安裝使用,會比較穩定。
初始設定 Site Kit by Google
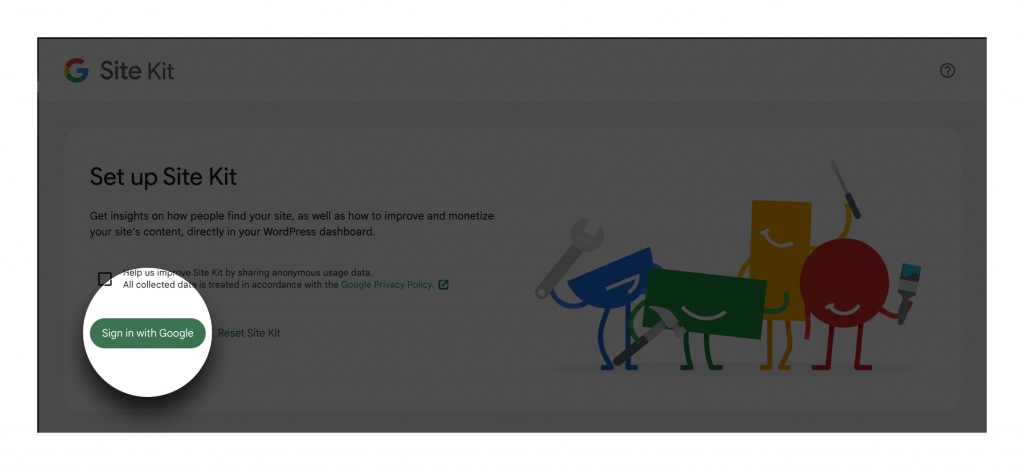
在我們外掛安裝啟用之後,Site Kit by Google 會引導我們進行初始設定。
一、這邊會需要用 Google 登入,所以我們直接點 Sign in Google 吧!
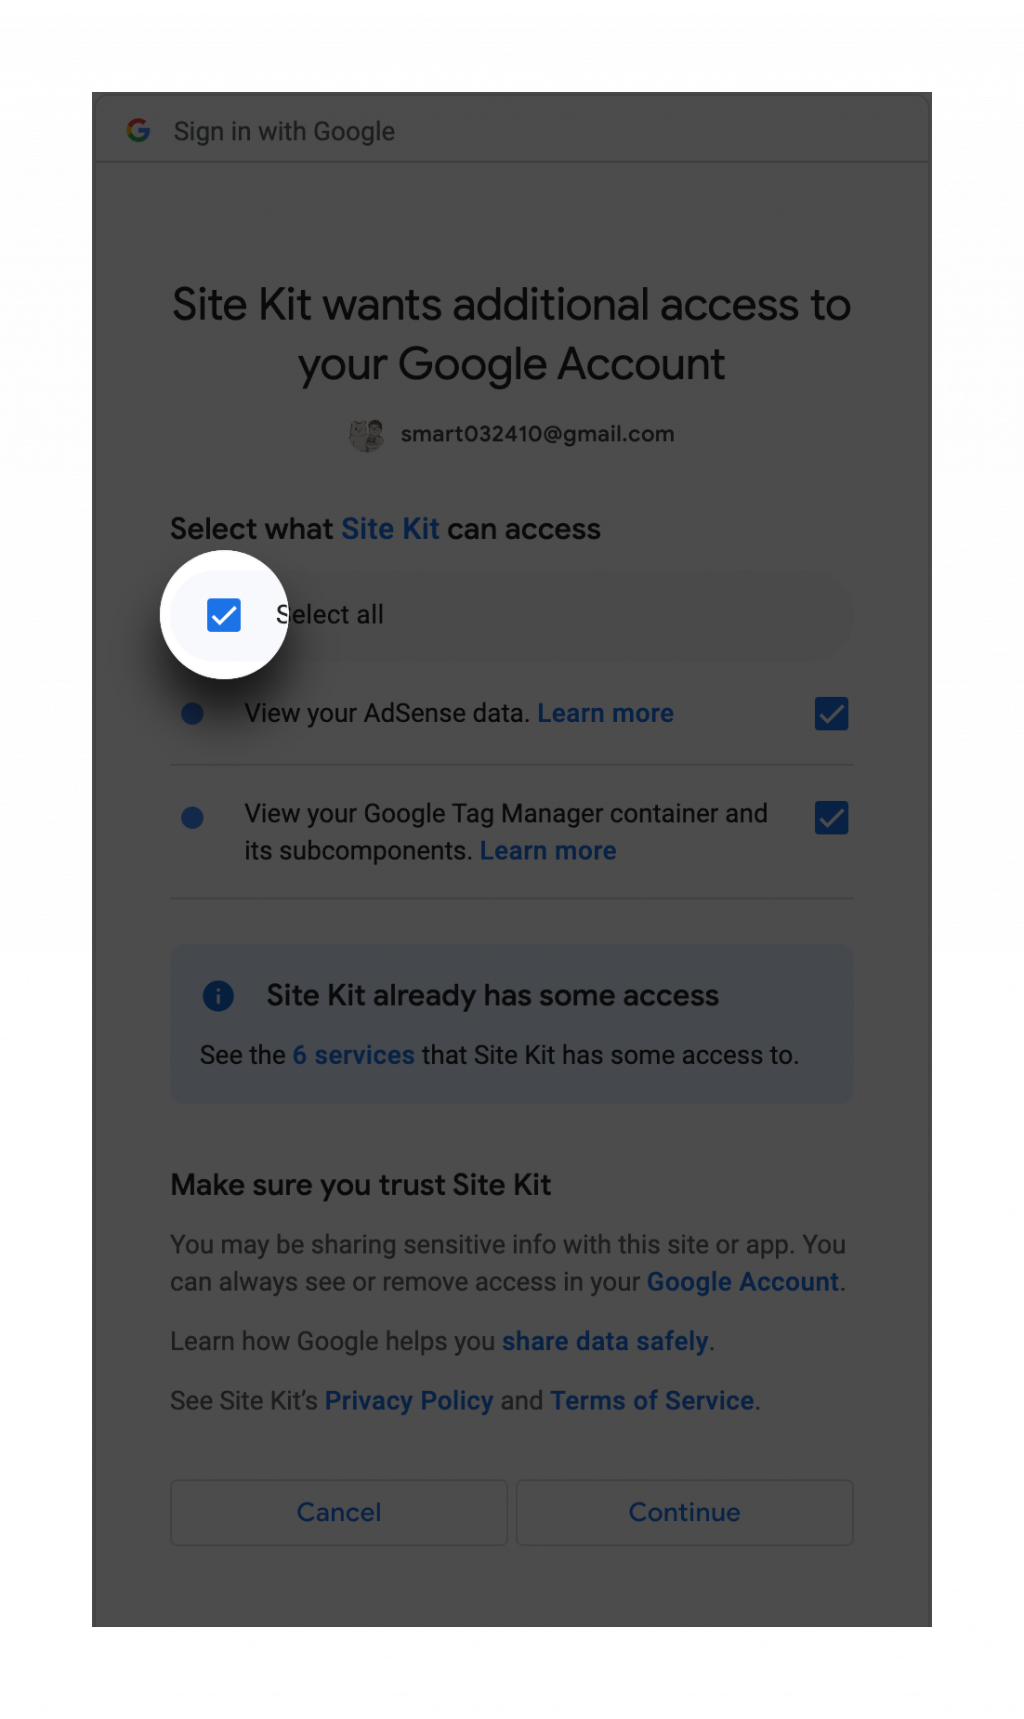
二、會要求一些網站權限,記得都要打勾才能夠繼續下一步喔!
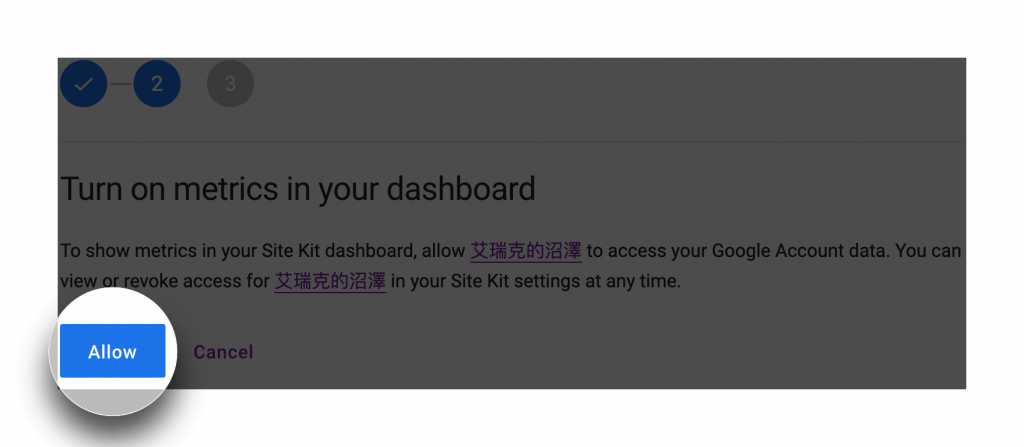
三、 WordPress 和 Google 在資料的處理都是很謹慎的。所以,這邊會再次確認資料是可以被使用的,我們直接按 Allow 來允許資料被使用。
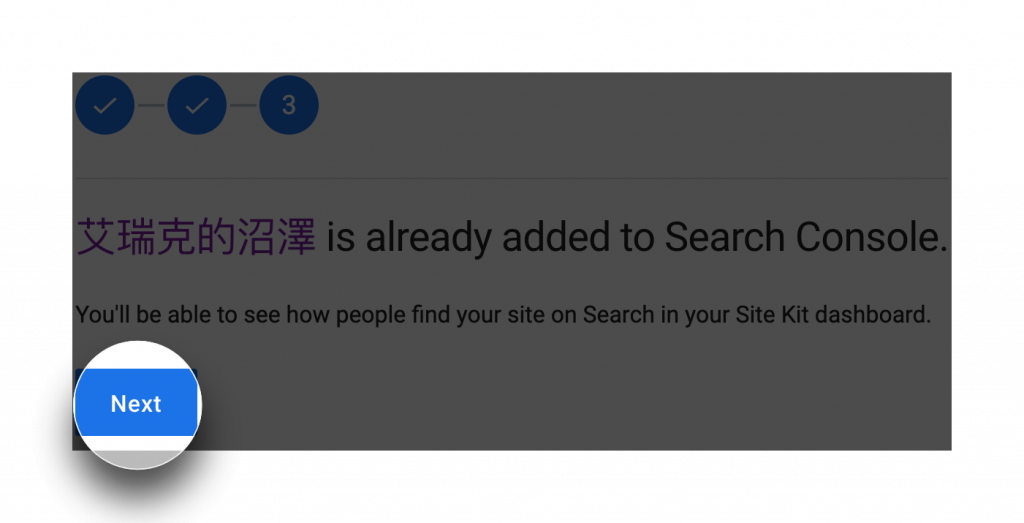
四、這個步驟會確認 Google Search Console 是否安裝,點選 Next 進入下一步。
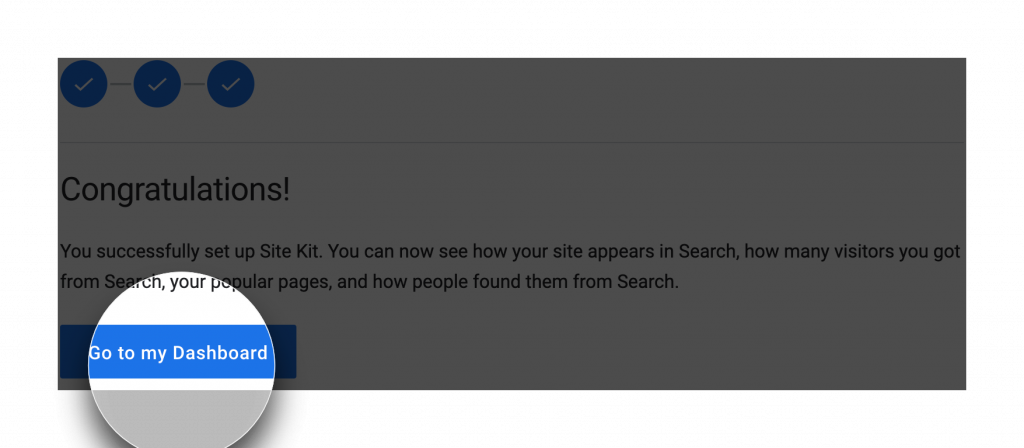
五、看到恭喜畫面,就可以點 Go to my Dashboard 來看看結果。
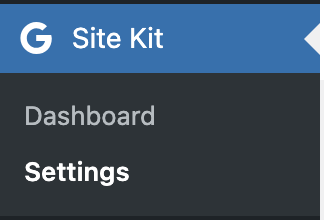
整個過程大概一分鐘吧,設定上還算是方便簡單,這個過程就會幫我們安裝上 Google Search Console。那之後如果你還想裝上 Google 家其他的服務,也可以到 Settings 這邊來設定,也都是用 Google 帳號登入就可以完成設定。
💡 目前 Site Kit by Google 支援的服務有:Search Console, AdSense, Analytics, PageSpeed Insights, Optimize (即將棄用) , Tag Manager 。不過礙於篇幅,這篇只介紹 Search Console 的安裝方法,其他服務的安裝方法都差不多。
使用 Site Kit by Google
我們接著回 Site Kit by Google 的 Dashboard 看一下。因為我們這個網站是新架設的,所以可能還需要等一段時間,才可以看到網站成效報告。
我們可以看到上面有四個 tab ,這邊粗略地介紹一下四個可以取得什麼樣的資訊:

Traffic: 這個頁面提供了有關我們網站流量的詳細資訊。它通常會顯示網站的瀏覽量、使用者數量、頁面瀏覽次數等資料,這可以幫助我們了解網站的受歡迎程度和使用者參與度。
Content: 在這個頁面下,我們可以找到有關我們網站內容表現的如何。它可能會顯示最受歡迎的頁面或文章、內容的平均閱讀時間等。這可以幫助我們了解哪些內容最受我們網站的受眾喜歡,並根據這些資料來最佳化我們的內容策略。
Speed: 這個頁面會告訴我們關於網站的速度和效能。它會顯示有關我們網站載入的速度相關指標。這些資料可以幫助我們找出和解決可能影響網站速度的問題,從而提供更好的使用者體驗。
Monetization: 這個頁面提供了有關我們網站收入情況的資訊。如果我們使用 Google AdSense 或其他廣告收入工具,我們可以在這裡查看有關我們網站收入的數據,如總收入、點擊通過率、每千次展示的收入等。這可以幫助我們了解我們的收入策略的效果,並根據需要進行調整。
我們也可以透過上方的搜尋,來看看特定網址下的成效如何。

或者是,篩選日期,看看某個時間區間的成效如何。

這邊大概就是 Site Kit by Google 的用法。無論我們是一名網站新手還是經驗豐富的老手,Site Kit by Google 一定會是你日後很重要的助手。
因為這邊礙於篇幅,講得很淺,但是這個外掛其實是很值得深入探索的。我們需要去學習看懂這些數據,這些數據可以讓我們更有效的去分析流量、監控內容、最佳化網站速度和分析收入渠道,來達成我們做一個網站的某些目的!
Be First to Comment